Wednesday, September 16, 2009

4100-09 Bosch table saw

It arrived Sept. 15, 2009. The box is huge and measures 30" x 21" x 38 3/4"


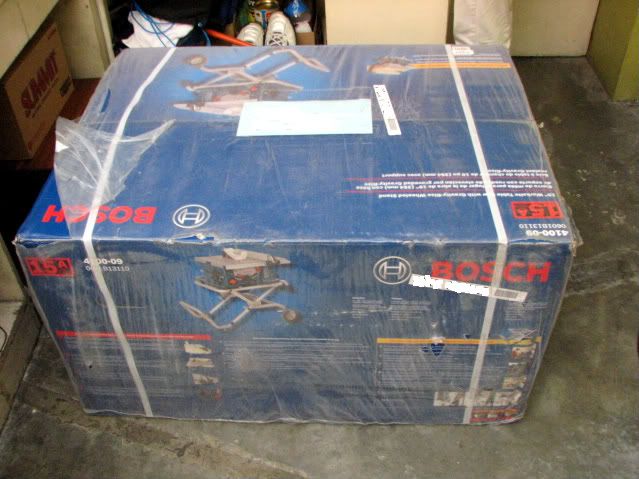
Opening the box, you would see the manual taped to the top side of the box. and the first parts you would see would be the insert plate, the miter gauge and the fence.


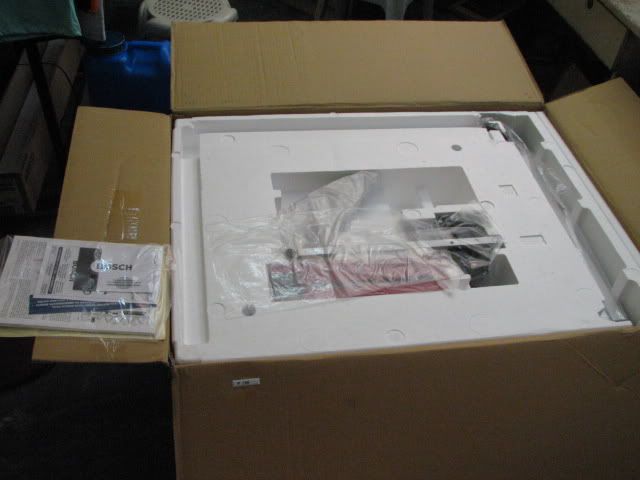
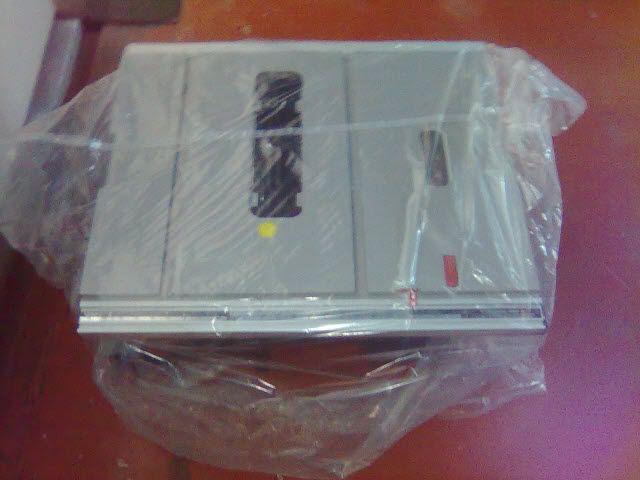
once the top portion is removed, the table saw would be visible

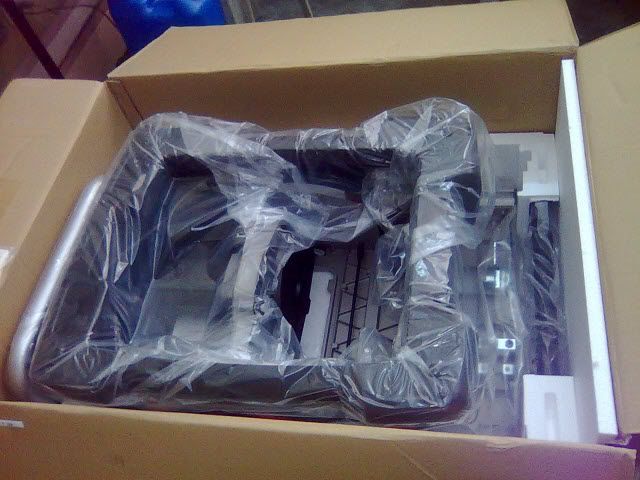
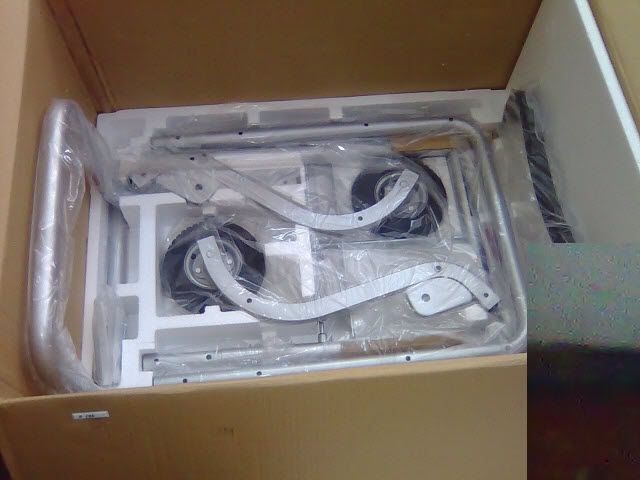
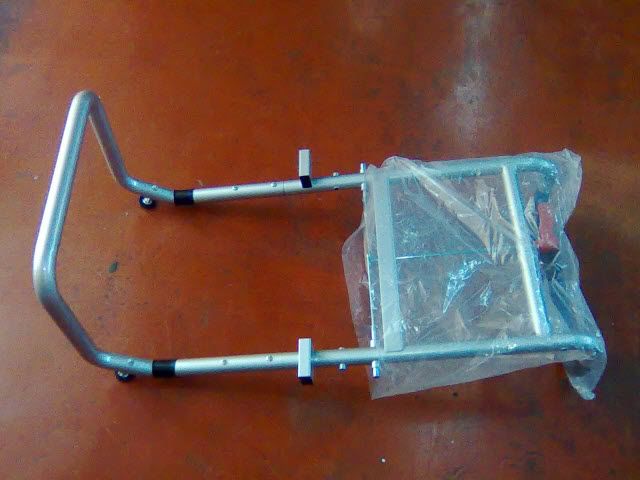
removing the table saw from the box, the stand parts become visible.


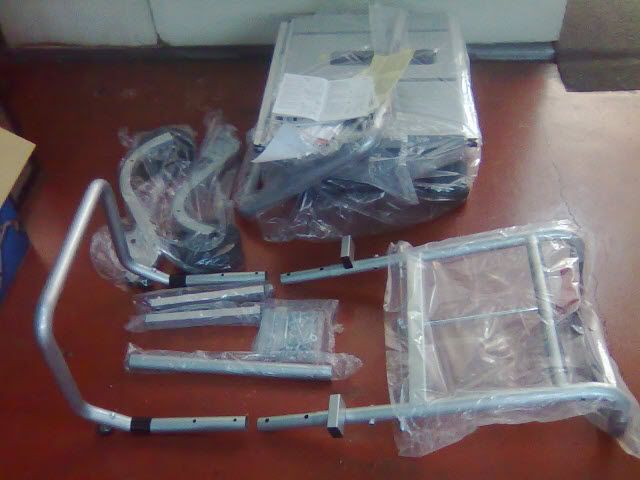
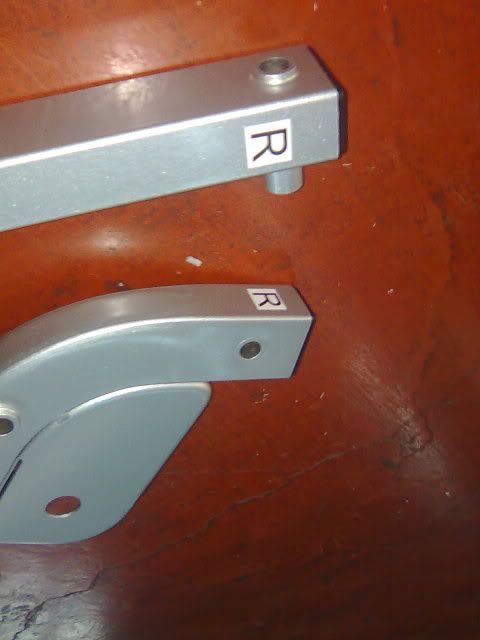
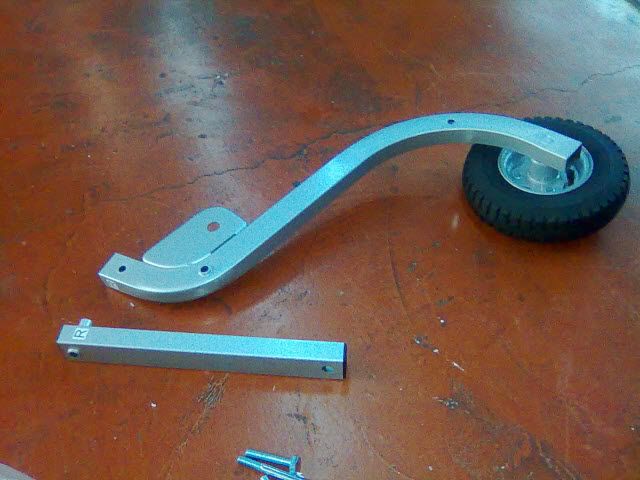
I got everything out of the box and placed them on the floor for assembly making sure there are no missing parts.


following the manual, I assembled the stand one piece at a time.


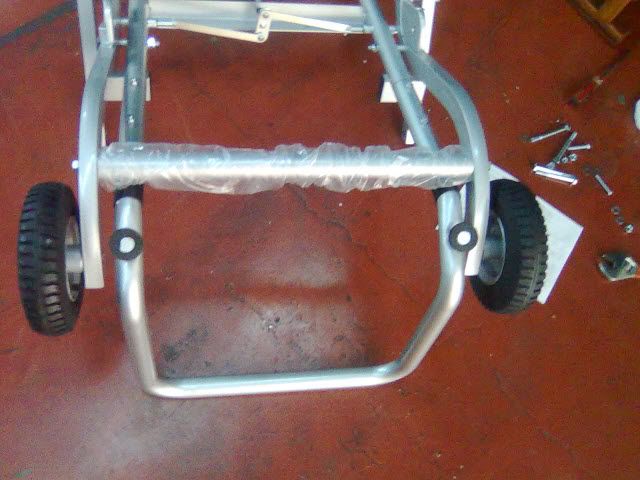
until the Gravity Rise stand could , well stand.


mounting the table saw (which came assembled) to the gravity rise stand is now a breeze.


installing the rest of the hardware is easy and almost self explanatory.


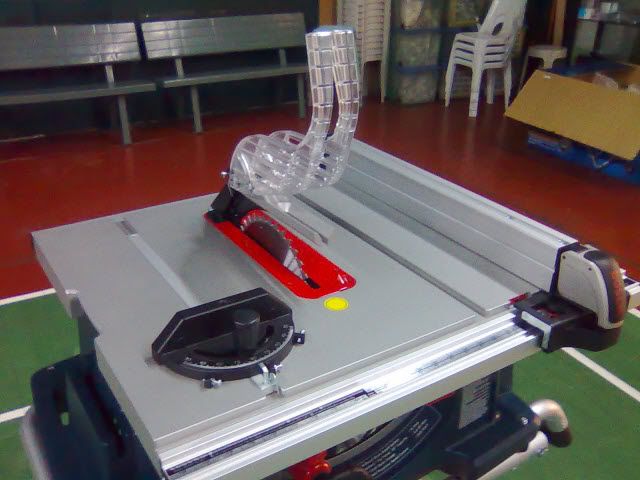
with the safety features in place, the splitter holds the anti-kickback pawls and the barrier guard assembly.


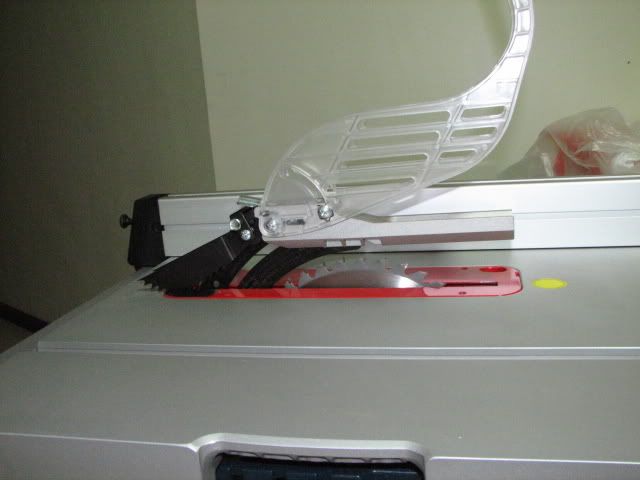
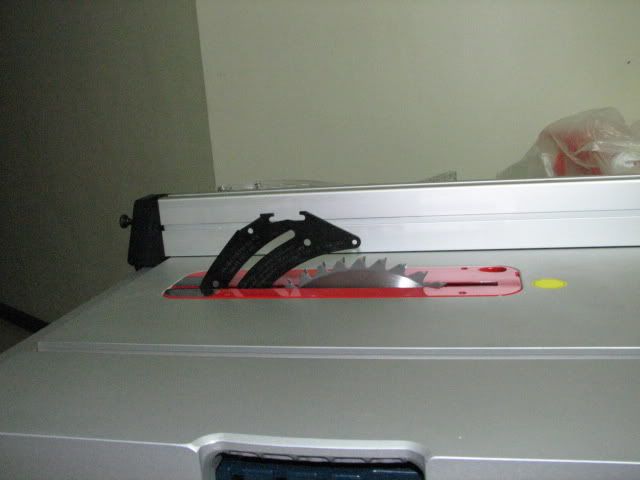
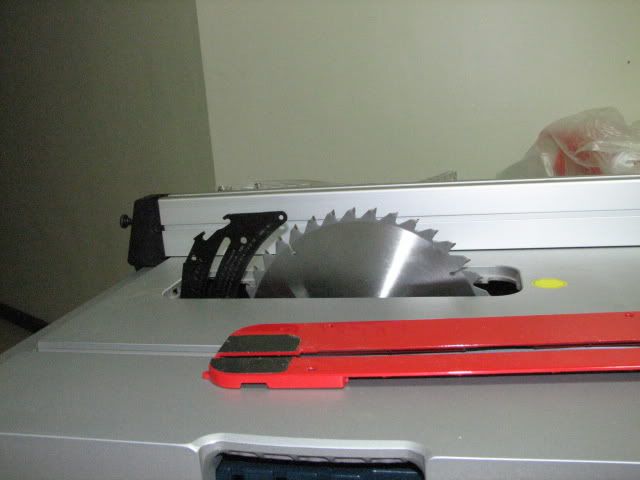
removing the safety features just to show the splitter. notice it being above the blade.


now with a tool free lever located in the saw blade side, it can be adjusted to serve as a riving knife. this is very useful for non-thru cuts such as dadoes and grooves.


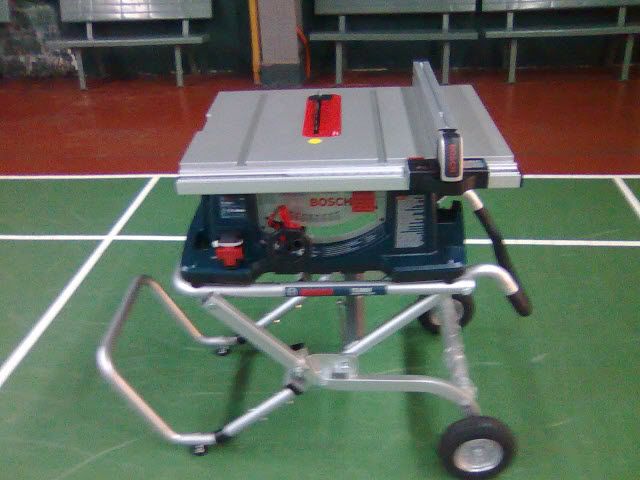
ready for cutting, the top is 38" from the floor and is very stable, no movement from the feet, not even a wiggle. Solid!


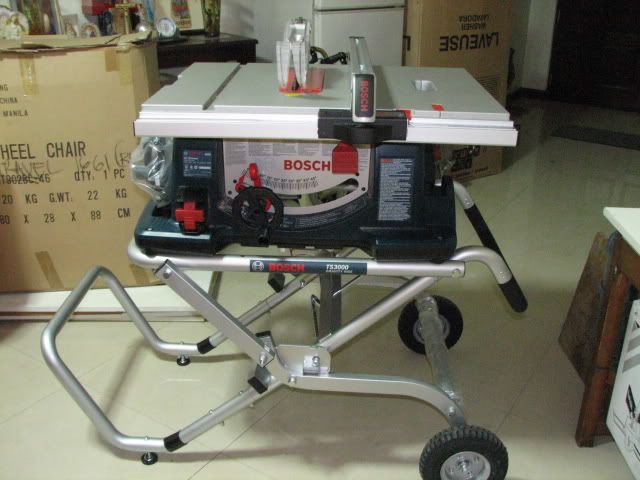
folded, it tucks away easy and moves very easily from one place to another leaving a small footprint for easy storage.


I haven't had the chance to do much test with this, given time I will update my reviews on it. cheers for now,

Sunday, May 17, 2009

Bring new life to your Scrollsaw blades

for Scrollsaw users:
here is a tip on how to save your blades...
scrollsaw blades don't really stay sharp very long,

by building an auxiliary table and raising the cutting area brings the material to be cut to the height of the unused blade, thus giving you a new part of the blade to be used...

Monday, February 16, 2009

Tool Review: Chinese made Combination Square Set

Introduction:
Personally I am not really big on Chinese tools, let alone lay-out tools. But this one caught my attention the moment I saw it. I just came from another store that carried the same kit but is a Starrett brand (which I really want but could not afford). So, I asked to see and inspect the item. Upon close inspection, the build is quite similar to Starrett (tight and solid), made some lay-out lines and bought the item.
Included in the box:
A laser etched rule, combination square, protractor guage and a center marking guage.


I also have a Stanley combination square and made a heads up comparison. Let us start with the metal rule. Note the difference in marking thickness, the Stanley marks could fit three lines of the Chinese made rule which could add to inaccuracy.

I then proceeded to the combination square and their hold downs. Which was similar until close inspection.


Both combination squares seem solid, the Chinese square seems to be built slightly better though.The Stanley hold down had coarser teeth spacing and was surprised to find a flat side on it. I have had my Stanley square for a while now and it has slid along the hold down many of times producing poor and inaccurate lines, the Chinese brand on the otherhand is solid and has never slipped. It made me think that a tool like this (Stanley) could only be made by... Stanley, Hahaha.


Lets make some lay-out lines. One way to check if a square is square is to lay lines parallel to each other with the same rule in the opposite side.


As for the rest of the items, I went to the protractor and layed-out a 45° angle, and with another protractor I checked on it and is very pleased with the results.


I now checked on the center marking gauge. I wanted to show that the gauge can be used for cylindrical items and all I can find is this plastic cup. So here it is.


My Results:
This brand definitely outclass the Stanley made combination square in more aspects than one. With a Php 2,000.00 price tag it is well worth it (the Starrett set costs Php 11,000.00 ++). Will I recommend it? Hell yeah, its a great deal for a great item.

Build/Construction: 8/10
Accuracy: 9/10
Price/Cost: 7/10
Overall: 7/10

Pls. post your comments, I would appreciate it.

Sunday, February 15, 2009

Tool Review: Makita Scrollsaw SJ401

Introduction:
Everybody starts something somewhere. While I grew up beside my grandfather that does everything from metalwork, woodwork, plastic work and even watch repairing (all as a hobby), this scrollsaw is what started me in woodworking. Bought initially to do modifications for my computer casing to do acrylic cutting, it did not take long before I was cutting wood. I found a website that boasts great works with the machine and I was hooked.
It came in this box.

Included in the box:
Two allen wrenches, a round wrench (for locking the head in place while replacing the blade), six pinned type blades, the warranty registration and the owners manual.

This scrollsaw is variable speed which is something you want in a scrollsaw. Prevents burned cuts and blade overheating. The ON switch is easily accessible in front as well as the speed control.

It will accept pinned type and plain blades. This makes buying better and thinner blades. Pinned types are limited to thick ones and less options. this is what I mean (the pinned type is at the rightmost).


I have removed the hold down clamps which limits cutting fast and fast turns. And the dust blower works great at keeping the cutline visible at all time.

The aluminum table tilts up to 45° to the left and 15° to the right for bevel cuts. And is easily adjustable with the front lever. And shown is the dust control port for vacuum attachment.

It comes with a minimal 1.2 ampere motor which makes for cool operation even at long operations.

The base is made of cast iron which adds to its weight to reduce vibration.

My Verdict:
This machine is built like a tank except for the table which could have used another type of material other than aluminum. the vibration can be improved but minimal. As any Makita item locally, accessories are very hard to come by, even from their distributor. Overall, this machine is a good buy compared to what our limited market is limited to. As to price, I don't understand why most of the time this Makitas sell higher here than the UK market when we are much closer to its sources.

My rating:
Built: 8/10
Vibration: 7/10
Dust Collection: 6/10
Price: 5/10
Performance Overall: 8/10

Pls. post your comments, I would appreciate it.

Saturday, February 14, 2009

locally available 2000 grit sharpening stone

I have been looking all over for a good sharpening stone. A friend (Owyn) offered one of his Naniwa 1000 grit Japanese stone and I grabbed it of course without hesitation. I continue to look for higher grits the like of 8000. I thought that the Naniwa 1000 grit although bought locally is very rare what else can I expect higher grits?
Well today I found two stones with higher than the 1000 grit. Its not Naniwa but I am certain that they were Japanese stones. The first one a class "B" 1200 grit stone ( I was told to purchase the other as it is better, I trust this vendor with his advice ) and the other, a 2000 grit class "A" Japanese stone which I purchased of course. I rushed home and opened my new stone.
First impressions were that the stone is flat without flattening necessary and that the texture is very smooth.


The stone measures 180 mm x 80 mm, just about perfect for honing all the hand plane blade sizes.
I placed it under water for 5 minutes just to soak in and gave my No. 4 blade a light honing. To my surprise, it cuts faster than the Naniwa stone and very clean. I was very pleased with the results just from a few strokes on it. I places the second bevel and just like the primary, it was no hassle with just about six strokes and the bevel is there. a light pass at the strop and in comes the back bevel. I did cut some pine endgrain and forgot to take some pictures of it. So, the next thing was to install the chip breaker and assemble it back. Did some minor tweaking just to center the blade and viola...


This Japanese stone should be available to all filipino handplane enthusiast. It makes sharpening much easier. A similar stone I found was in the knives store and costs Php 3,000.00. This one costs much much less and seems to be the same. Except, the ones in the knives store carries the Japanese signature which mine did not have.
Overall remark:
this stone is a must have for the sharpening buffs.

Leave a comment when you can. I would appreciate this.